I have been using Procreate since 2017 and I picked up little tips and tricks along the way. If you are just beginning or want a refresher this post is for you.
- Learn the gestures
Learning the gestures for procreating will make your workflow much faster and efficient. To find the gestures, in procreate, tap Actions > Preferences > Gesture Controls. This will bring up all the gestures and it is fully customizable.

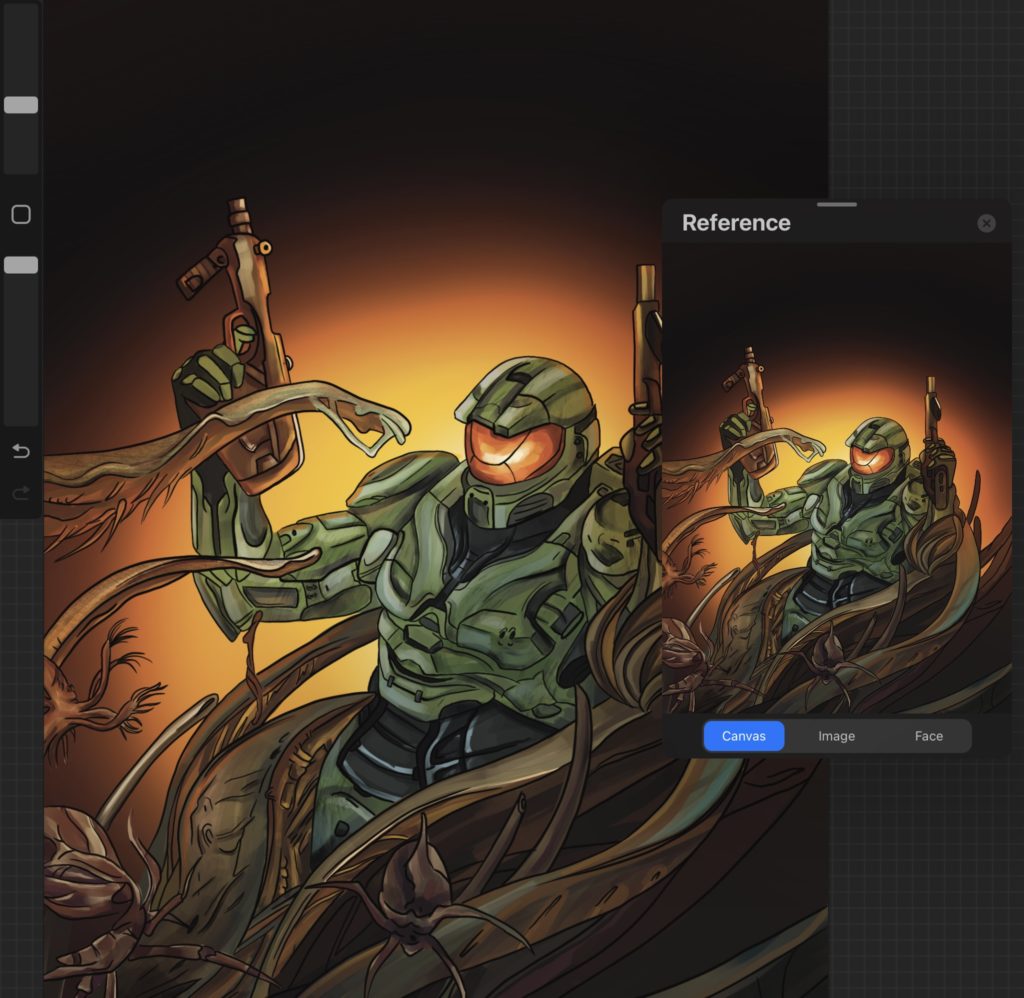
- Picture References
Everybody uses a reference at least once when they are drawing. Well, Procreate has a feature for that, tap Actions > flick on Reference. This will bring up a popup where you can put pictures and even use your camera to reference from.
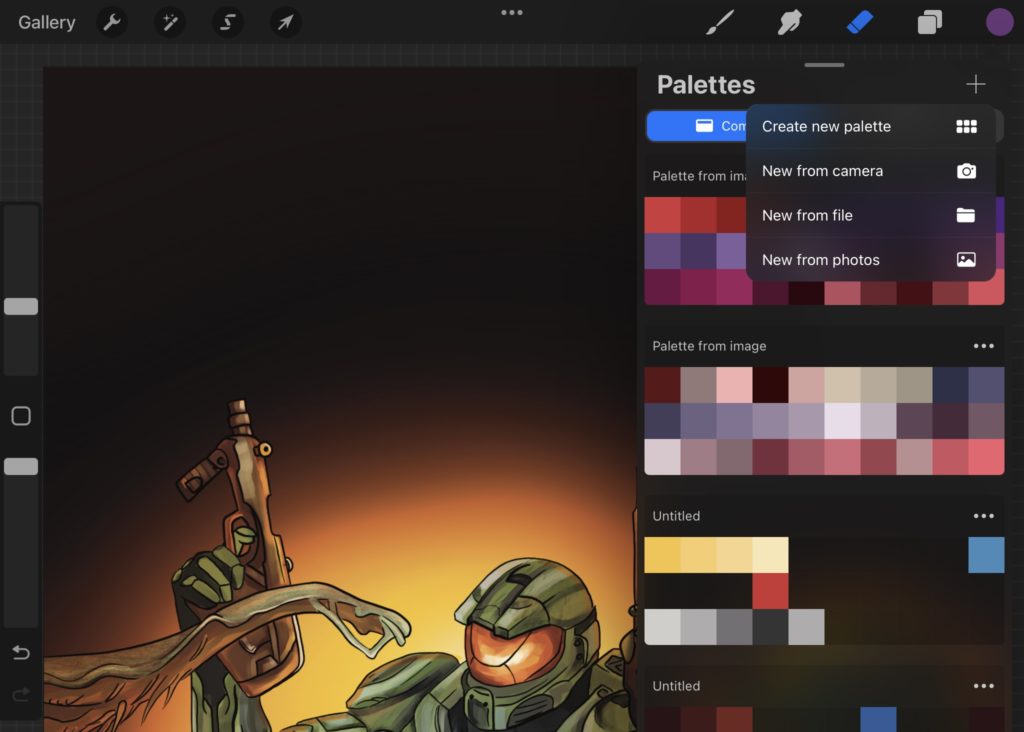
- Making An Image A Colour Palette
Procreate allows you to upload an image from your camera roll and convert it to a palette. Tap on the coloured circle on the top right > Palette > + in the top right. It will pick out the most prominent colours and create a palette based on those.
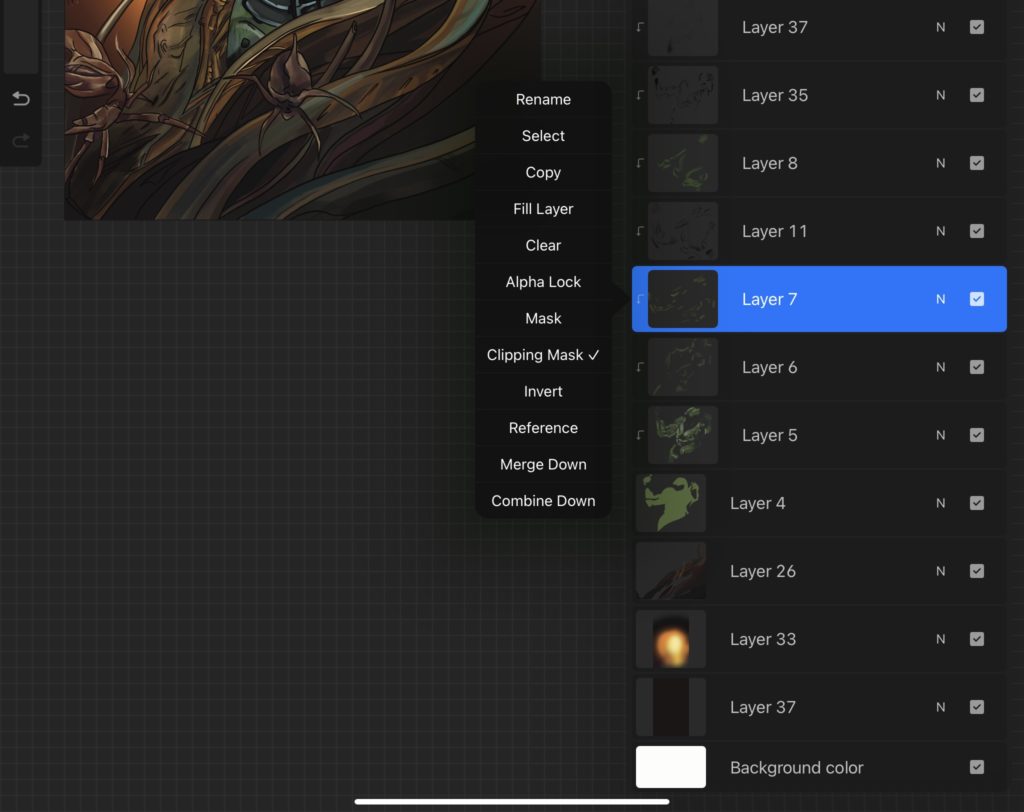
- Clipping Mask
Clipping mask are life savers. Create a new layer above design > Tap new layer with finger > Select clipping mask. This will constrain the new layer to the one below it. This is usually how I add shadows or highlights to my Illustrations.
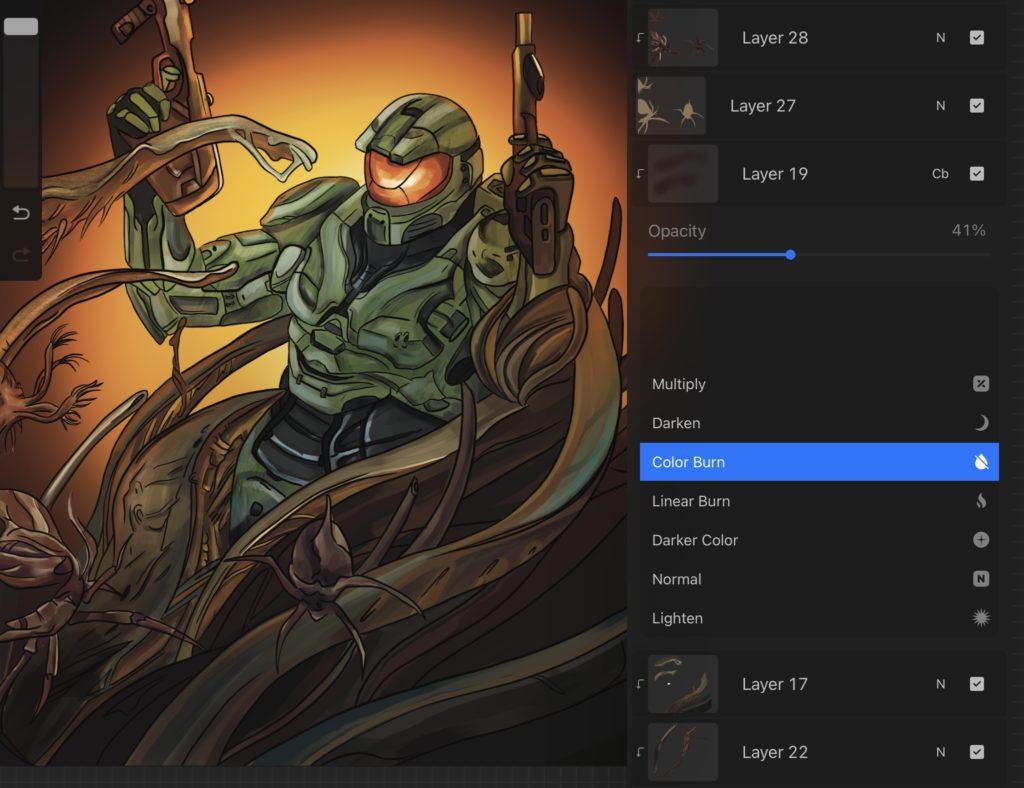
- Blend Modes
Blend modes can really amplify your illustrations. Press the ‘n’ on a layer > Select desired blend mode (The ‘n’ means normal mode). Just play around with the setting and see the different outcomes it will give.
I hope these tips helped you out and got you more familiar with Procreate. Just knowing these small things will help expand your experience in the program and might even challenge you to try new things